


前言
最近在开发QA平台的时候,有这样一个需求,就是将后端的数据实现分页,同时前端使用分页参数实现分页数据的获取和渲染。
环境准备
项目结构

后端
后端我们采用flask实现,结合peewee实现SQLite的分页查询。使用flask-cors解决跨域问题。
# dev_env:python@3
# 安装flask和flask-cors
pip install flask
pip install flask-cors
代码web/DbAction/User.py
from peewee import *
from datetime import date
from playhouse.migrate import *
# 如果db不存在,会自动创建
db = SqliteDatabase('datastore.db')
class people(Model):
# 默认会有ID作为主键自增
name = CharField()
birth = DateField()
people_status = BooleanField(default=True)
class Meta:
database = db
if __name__=='__main__':
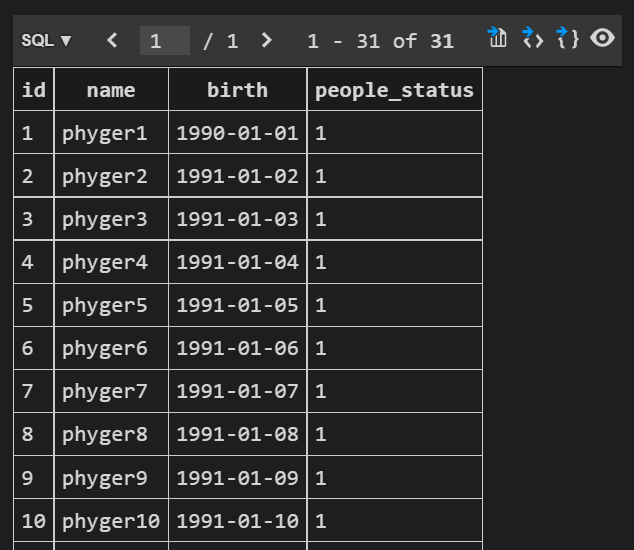
for i in range(1,32):
pp = people.create(name=f'phyger{i}',birth=date(1991,1,int(f'{i}')))
pp.save()
我们执行以上代码,向数据库中插入31条数据。
代码web/app.py
# -*- coding: utf-8 -*-
from flask import Flask
from flask import render_template,request
from flask_cors import cross_origin,CORS

app = Flask(__name__)
# 打开跨域
CORS(app)

@app.route('/')
@app.route('/<name>')
def hello(name=None):
    return render_template('index.html', name=name)

@app.route('/js')
def js():
    return {'name':'phyger'}

#  后端分页的实现
from peewee import *
from DbAction.User import people
@app.route('/user')
def user():
    # 如果没有传参数,则提示
    if not request.args.get('page') or not request.args.get('limit'):
        return 'check params!'
    # 开启分页
    page = int(request.args.get('page'))
    size = int(request.args.get('limit'))

    print(f'page is {page} | page_size is {size}')
    # 使用这个列表存放数据
    tmp=[]
    # 循环遍历将数据添加到上面的列表中
    for pp in people.select().order_by(people.id).paginate(page,size):
        tmp_date = f'{pp.birth.year}-{pp.birth.month}-{pp.birth.day}'
        tmp.append({'id':pp.id,'name':pp.name,'birth':tmp_date,'status':pp.people_status})
    return {'code':0,'msg':'success!','data':tmp,'count':len(people.select())}

if __name__ == '__main__':
    app.run(host='0.0.0.0')
启动后端
python3 app.py
测试下,/user?page=1&limit=5
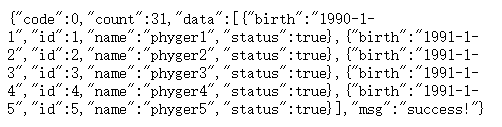
到此,后端服务准备就绪。
前端
前端我们依然采用对后端友好的LayUI框架,直接在html中引用LayUI的CDN加速。逻辑JS直接内嵌在html页面。
代码layui/index.html
<!DOCTYPE html>
<html lang="en">
<head>
    <meta charset="UTF-8">
    <meta http-equiv="X-UA-Compatible" content="IE=edge">
    <meta name="viewport" content="width=device-width, initial-scale=1.0">
    <title>layui分页效果</title>
    <link rel="stylesheet" href="https://www.layuicdn.com/layui-v2.6.8/css/layui.css">
</head>
<body>

    <table id="test"></table>

    <script type="text/javascript" src="https://www.layuicdn.com/layui-v2.6.8/layui.js"></script>
    <script>
        layui.use(['table','layer'], function(){
          var table = layui.table;
          var layer = layui.layer;

          table.render({
            elem: '#test'
            ,url: 'https://backend.io/user'
            ,cellMinWidth: 80 //全局定义常规单元格的最小宽度,layui 2.2.1 新增
            ,cols: [[
              {field:'id', title: 'ID', sort: true}
              ,{field:'name', title: '姓名'}
              ,{field:'birth', title: '生日'}
              ,{field:'status', title: '状态', sort: true}
            ]]
            ,page: true
            ,done: function(res, curr, count){
                //如果是异步请求数据方式,res即为你接口返回的信息。
                //如果是直接赋值的方式,res即为:{data: [], count: 99} data为当前页数据、count为数据总长度
                console.log('当前的数据',res);

                //得到当前页码
                console.log('当前的页码',curr);

                //得到数据总量
                console.log('当前的总数',count);

                layer.msg("查询成功!");
                }
          });
        });
        </script>
</body>
</html>
启动前端(nginx、python、caddy、httpd都可)
python -m http.server 9999
查看效果-1
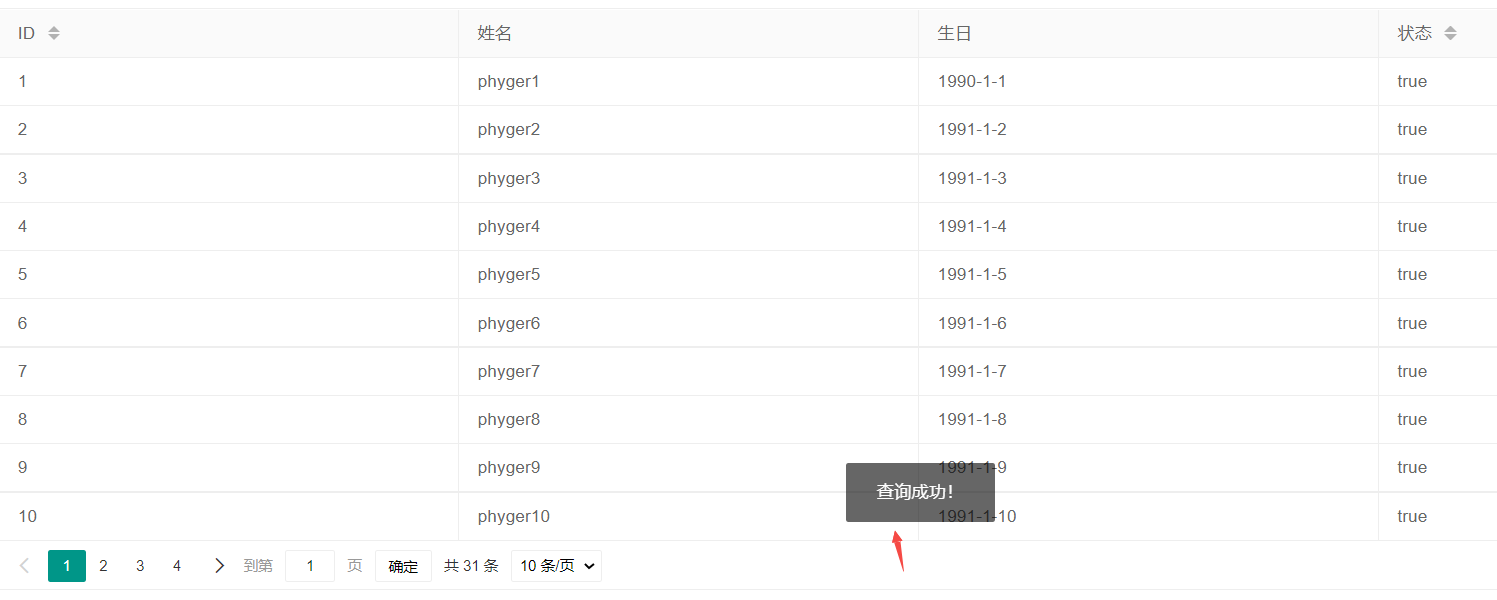
查看效果-2

最后
后端我们使用ORM框架可以实现很简单的实现分页效果,前端我们使用分页组件也可以快速实现分页效果。虽然各个框架各有特点,但是原理都是一致的。希望本文能够对你的工作学习带来帮助。


评论区